
Last updated November 22, 2026
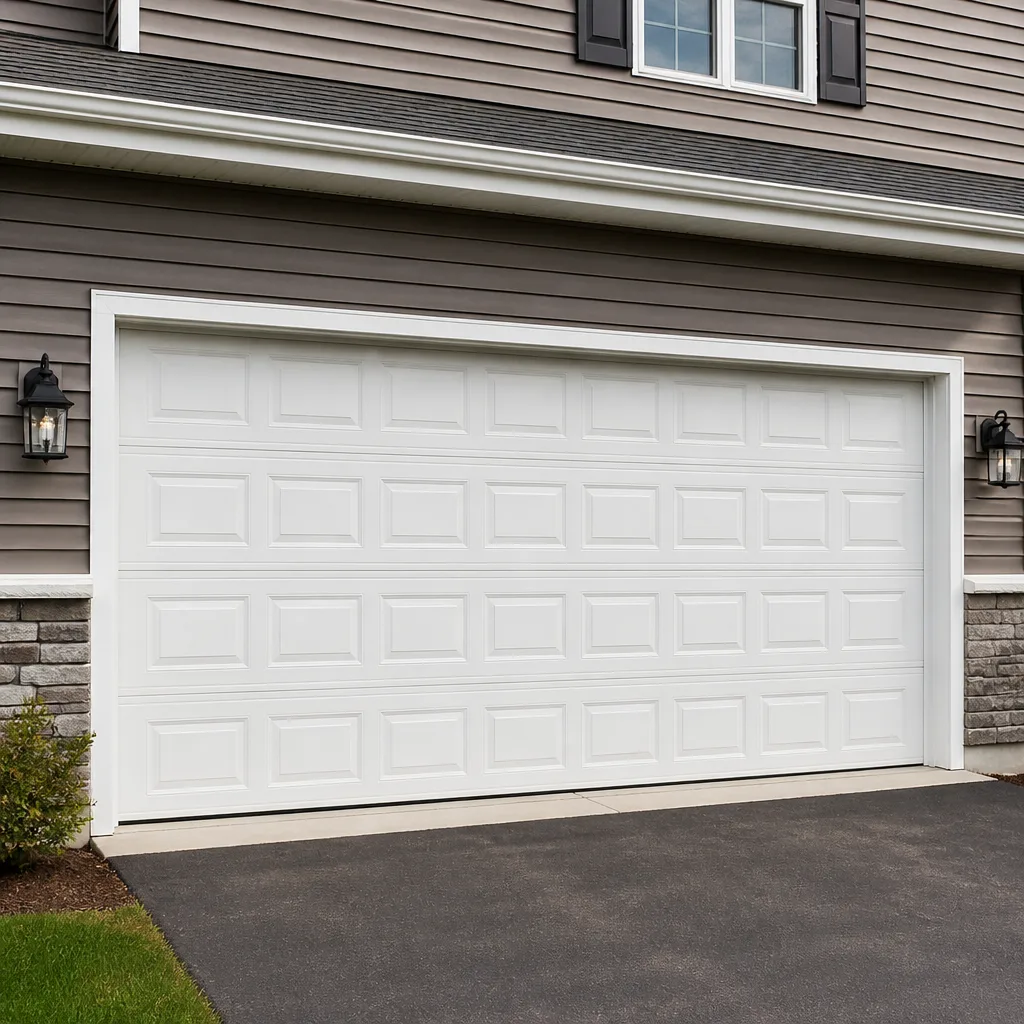 Raised-panel steel
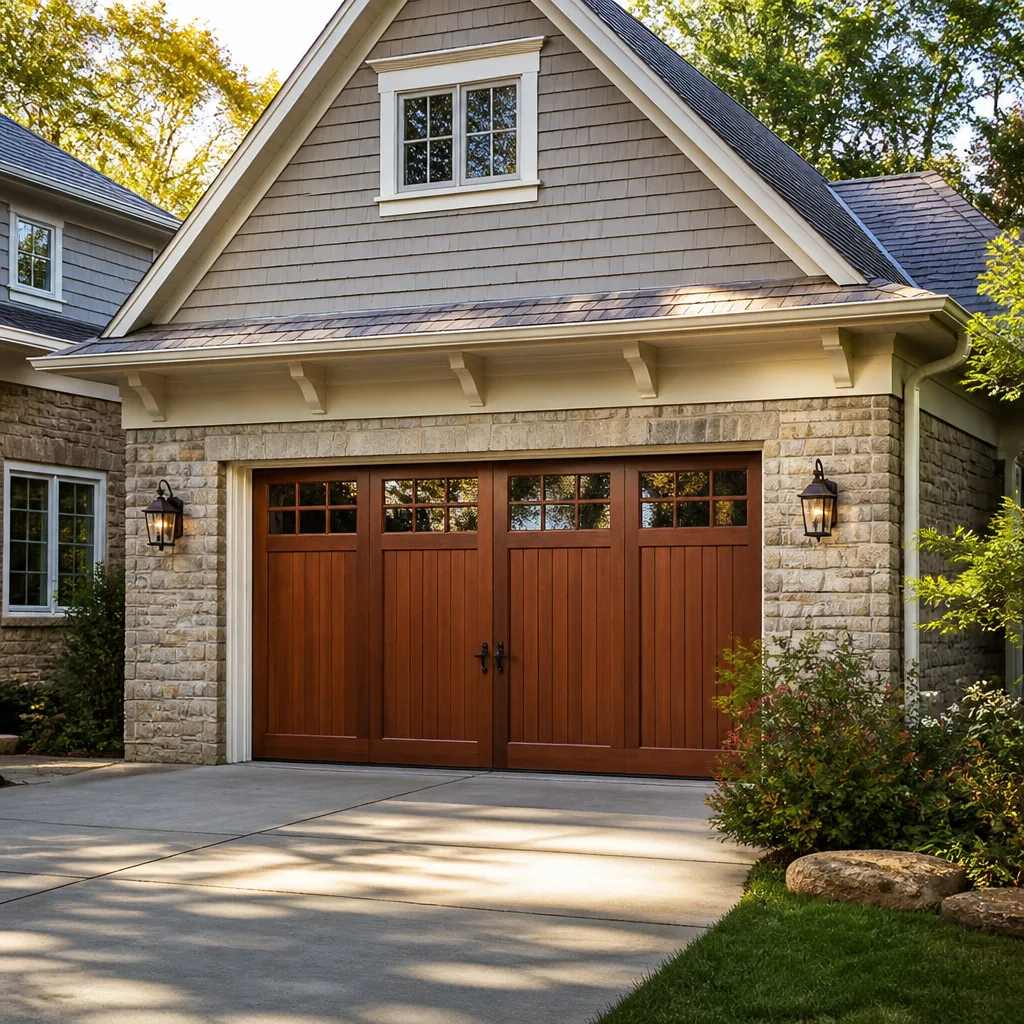 Carriage house
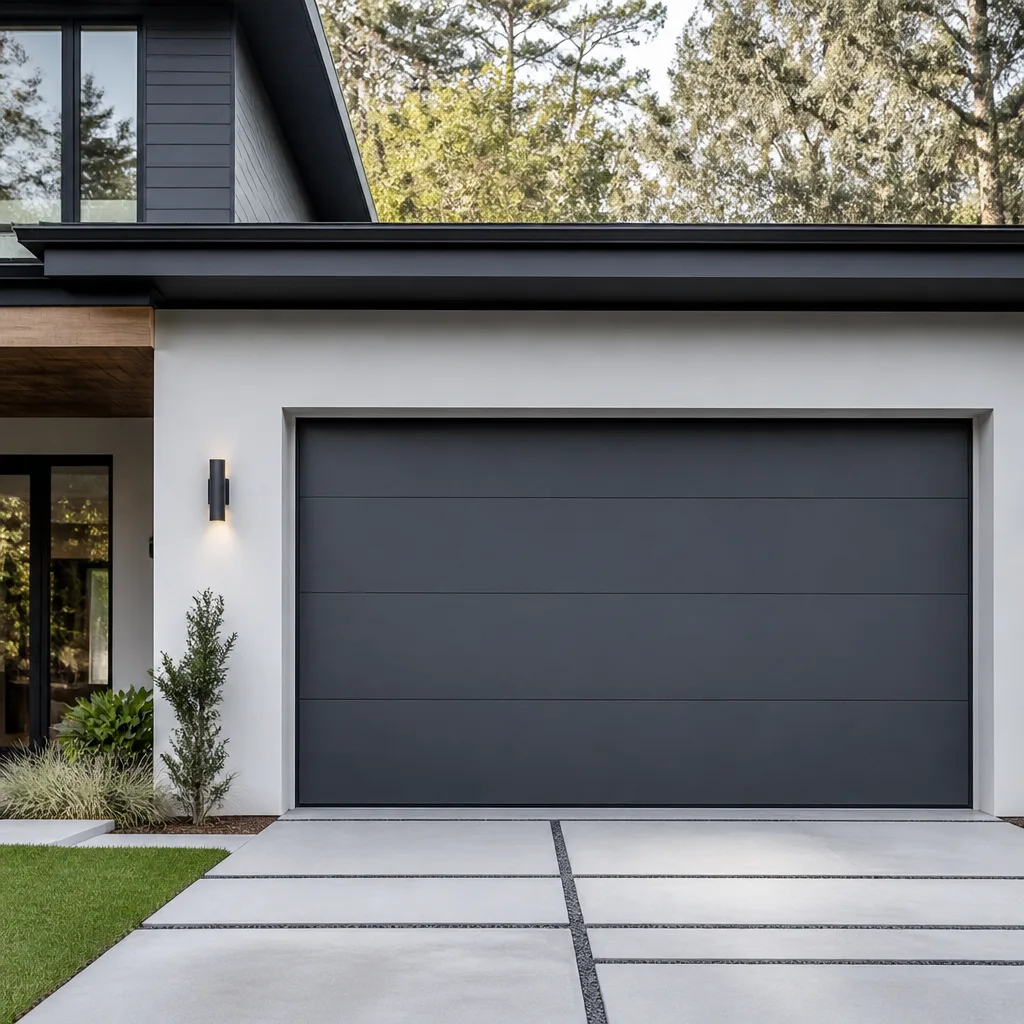 Modern flush
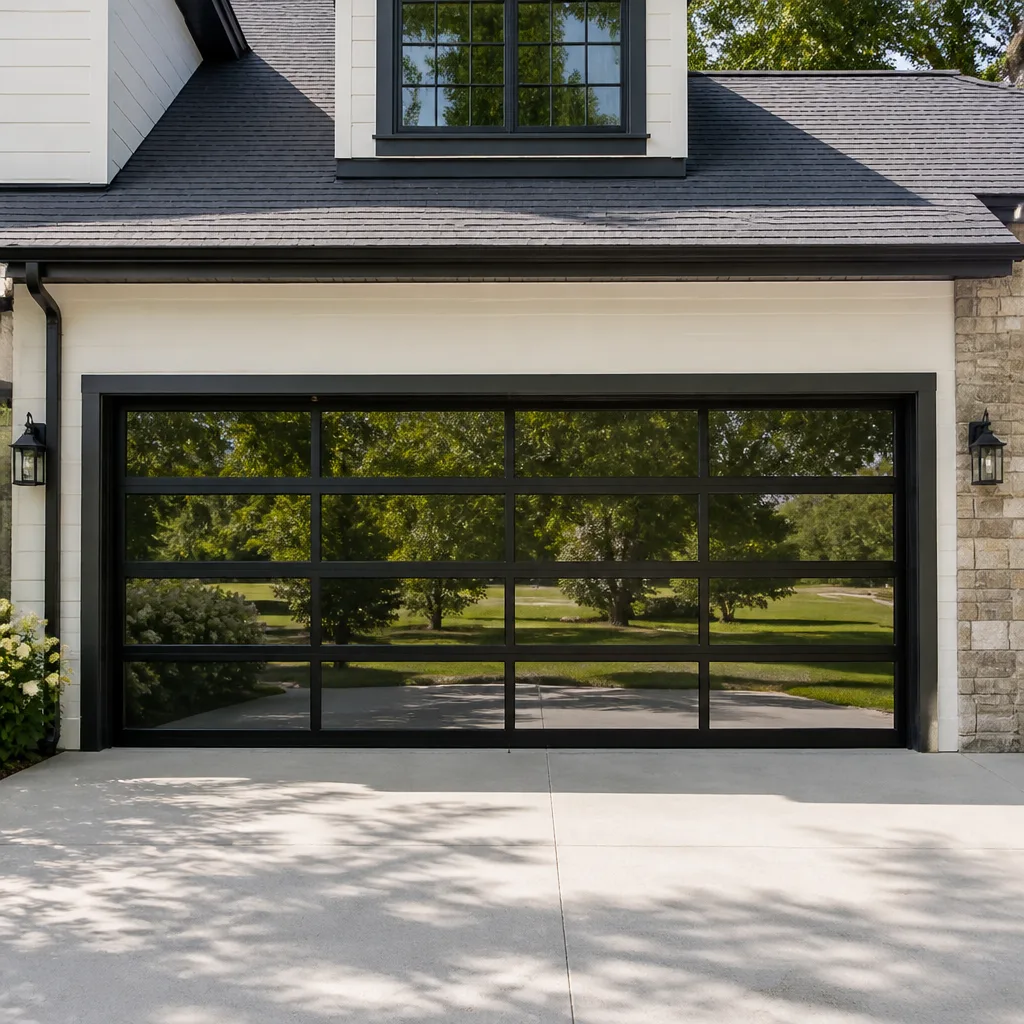 Full-view glass
 LiftMaster openers
 Chamberlain openers
Full 25-point door and opener safety check with every visit - springs, cables, rollers, tracks, and your LiftMaster or Chamberlain opener included
You get a price before we start. It does not change when the pro arrives.
Get your free estimateGarage Door Repair Maintenance Checklist for Delaware Homeowners
Most garage door failures we see in Delaware didn’t come out of nowhere. The spring that snapped in February was announcing itself back in October, and the homeowner just didn’t know what to look at. The number one reason garage door springs fail without warning isn’t age. It’s lubrication that gets skipped two winters running, and the same is true of the rollers, hinges, and bearing plates that slowly dry out and start grinding through metal.
This checklist is sequenced the way a technician actually walks up to a door and inspects it, not alphabetically and not by what’s easiest to check. You’ll get the tests that reveal hidden stress, the parts that should never be lubricated, and a seasonal trigger system so you know which checks belong in October and which belong in March. Every item here is something a Delaware homeowner can safely do.
Quick Answer
A complete garage door maintenance checklist covers four zones: the balance and spring test, the roller-and-hinge lubrication pass, the weatherstripping and seal inspection, and the cable-and-drum visual check. Run the balance test and lubrication pass twice a year (October and March for Delaware’s temperature swings), inspect seals and cables after every major storm, and call a trained technician for anything involving springs, cables under tension, or the torsion shaft.
Styles & brands we work with
- Raised-panel steel
- Carriage house
- Modern flush
- Full-view glass
- LiftMaster openers
- Chamberlain openers
Table of Contents
- The 30-Second Balance Test That Reveals Spring Health
- The Lubrication Pass: What to Grease and What to Leave Alone
- Rollers, Hinges, and Bearing Plates: The Moving Parts Audit
- Weatherstripping in Delaware’s Temperature Swings
- Cable and Drum Inspection You Can Do Safely
- Opener and Safety-Reverse Testing
- The Seasonal Trigger System: October, March, and After Storms
- When to Schedule Professional Service in Delaware
The 30-Second Balance Test That Reveals Spring Health
The balance test tells you more about spring health than any visual inspection ever will, and it takes half a minute. Springs lose tension gradually, and by the time a spring looks visibly wrong, you’re usually already in trouble. The balance test catches that tension loss long before the metal gives out.
Here’s the sequence, and it’s the first thing we do when we walk up to a door in Delaware:
- Close the door fully and pull the manual release cord (the red-handled cord hanging from the opener rail) to disconnect the opener.
- Lift the door by hand to about waist height, then let go.
- Watch what happens. A healthy door stays roughly where you left it, maybe drifting a few inches. A door that wants to fall back down has lost spring tension. A door that wants to climb on its own has been over-tensioned or has a spring that’s been set wrong.
- Reconnect the opener by lifting the door until the trolley re-engages, or by pressing the wall button to cycle the trolley back into the carriage.
If the door crashes down or refuses to stay put, stop right there. That’s a spring problem, and springs are the one part of a garage door you should never adjust yourself. A torsion spring under load carries enough stored energy to break a bone or worse, and the winding bars it takes to tighten one are a professional’s tool for a reason. Our garage door repair team handles those calls regularly and can usually tell you what’s wrong within a few minutes on site.
What makes the balance test so useful in Delaware specifically is the timing. Our springs cycle hundreds of times a year across the seasons, and the steel coil metal expands and contracts with every temperature swing. The door that felt fine in July can feel heavy and sluggish by February, and the balance test is the only way to catch that decline while it’s still just a tension issue and not a snapped spring.
A word about what a “healthy” result actually feels like. There’s a little art to reading the balance test. A door that drifts an inch or two in either direction is normal. A door that drops fast has a problem. And a door that seems fine but makes a groaning or squealing sound when you lift it is telling you something else is under stress and needs attention. That’s the lubrication pass, and we’ll cover it next.
The Lubrication Pass: What to Grease and What to Leave Alone
Every moving metal surface on a garage door needs lubrication, but the parts that get greased are specific, and the parts that shouldn’t get greased matter just as much. The most common mistake we see in Delaware is greasing the rollers on a nylon-track door. That’s the wrong call, and it causes more problems than it prevents.
Here’s exactly what to lubricate, and with what:
- Hinges and hinge points: a light spray of white lithium grease or a dedicated garage door lubricant (not WD-40, which is a solvent, not a lubricant) at each hinge knuckle. Two short bursts per hinge is plenty. More isn’t better here.
- Roller stems and bearing plates: a small dab of garage door lubricant at the point where the roller stem meets the hinge. Don’t soak the roller itself – just the stem and the bearing surface.
- Torsion spring coils: a light coat of garage door lubricant across the length of the spring, applied with the door fully closed so the spring is under minimal load. This is the one part of the spring you can safely touch, because you’re applying a coat, not adjusting tension.
- Lock, latch, and the manual release mechanism: a few drops of lubricant at the lock cylinder and a dab on the release cord hardware.
And here’s what stays dry:
- Nylon rollers and nylon tracks: leave them alone. Grease on a nylon roller attracts dust and debris onto the track, which causes the roller to bind and chatter. The roller is designed to run dry.
- The photo-eye lenses and the safety sensor area: keep them clean and dry. No lubricant at all.
- The opener rail: most rail assemblies are designed to run without added grease. Check the manufacturer’s manual for your LiftMaster, Chamberlain, or Craftsman opener before you add anything.
How often does this lubrication pass need to happen? Twice a year in Delaware is the right cadence, timed to the October and March checkpoints we’ll get to. In our experience, skipping two winter cycles is enough to let the hinge knuckles seize, and the wear that builds up in those joints is exactly the kind of stress that eventually cracks a spring or throws a door off track.
If you’re not sure which brand of door or opener is on your garage, take a look at the label on the opener housing and the door’s bottom bracket. We work on Clopay, Amarr, Wayne Dalton, and most other major brands, so whatever you find, we’ve seen it before.
Rollers, Hinges, and Bearing Plates: The Moving Parts Audit
After lubrication, walk the door panel by panel and look at every moving part. This is where you catch the wear before it becomes a repair, and it’s the part of the checklist that takes the most eyeballs and the least effort.
Here’s the audit, in order:
- Rollers. Each roller seats in a hinge. Look for flat spots, cracks, or chips on the roller wheel. A worn roller is a cheap part, and replacing one before it fails saves you the whole carriage assembly later. Rollers on Clopay and Amarr doors are typically the standard 2-inch type, but check before ordering.
- Hinges. Look for loose screws, bent hinge plates, or hinges that have worked their way out of the panel. A single loose hinge is common and easy to tighten. Two or three loose hinges on the same side usually mean the door is out of alignment.
- Bearing plates. The bearing plates are the flat metal plates that hold the torsion shaft at the top of the door frame on the header. Visually check that they’re snug to the frame and that no screws are backing out. You’re looking, not touching.
- The torsion shaft. This is the horizontal bar that runs across the top of the door. Check that it looks straight and that the bearing plates are holding it level. A sagging shaft is a professional fix.
- Panel condition. Run your hand along each panel (with the door closed) and look for dents, cracks, or separating seams. A cracked panel is repairable alone, but if the door has been hit or backed into, the whole track can be misaligned and the panel is the least of it.
One thing to note in Delaware: the temperature swings that make our springs work so hard also work on the metal of the door panels and hinges themselves. The expansion and contraction over a full year is enough to gradually loosen screws and shift hinges out of true. The moving parts audit is how you catch that drift before it shows up as a door that binds or jerks at the halfway point.
If the audit turns up a worn roller, a loose hinge, or a suspected alignment issue, this is also the right moment to check the opener. Details on that test are further down the checklist.
Weatherstripping in Delaware’s Temperature Swings
Weatherstripping in Delaware doesn’t have a long service life, and it’s the part of the door that gives the most visible warning before it fails. The temperature swings between summer heat and winter cold are hard on the rubber and vinyl. The seals go through a full cycle of expansion and contraction every season, and after a few years they start to show their age.
There are two distinct types of weatherstripping failure, and they tell you different things:
- Cracking. The rubber or vinyl shows cracks along its length, usually at the bottom seal or the sides. Cracking means the material has aged out from UV exposure and thermal stress. It’s cosmetic at first and drafty before long. A cracked seal lets water in under the door and lets cold air through in winter.
- Compression failure. The seal still looks intact – no obvious cracks – but it’s flattened out and no longer sealing. You can spot this by closing the door and looking for light at the bottom or by holding a piece of paper against the gap and seeing if it slides out easily. Compression failure is common on doors that get pushed closed against the same spot year after year.
To check both, run your hand along the bottom seal and the side seals (door closed) and feel for soft spots, gaps, or sections that have pulled away from the door. Then look for daylight along the bottom threshold. If you can see light or feel air, the seal is failing.
Refitting weatherstripping is a homeowner-friendly job – the bottom seal slides into a track and the side seals glue on, and no tension hardware is involved. It’s the one part of the checklist we tell Delaware homeowners to handle themselves if they want. What you don’t want to do is ignore it. A failed seal on a door with a Wayne Dalton or Amarr panel opens the bottom edge to water intrusion that eventually rusts the bottom bracket, and that’s a professional repair.
Check the weatherstripping in October before the cold sets in and again in March to see what the winter did to it. That timing catches both the summer UV damage and the winter cold-cracking while each is still a small fix.
Cable and Drum Inspection You Can Do Safely
The cables and drums are the second-most dangerous component on a garage door after the springs, and there’s a right way and a wrong way for a homeowner to inspect them. The right way is to look but not touch. The wrong way is to put your hand anywhere near a cable under tension, and that’s how we see people get hurt.
Here’s what you can safely check:
- Cable condition. With the door closed, look at the cables on each side of the door. Look for fraying, kinks, or strands that have snapped. A cable with even one broken strand is a cable that’s about to fail, and it should be replaced by a technician.
- Cable seating on the drums. Look at where each cable winds onto the drum at the top of the door. The cable should spool evenly in the grooves. If it’s jumped the groove or is starting to bunch up, the door needs a professional adjustment.
- Cable slack. With the door open (and the door resting on its springs), look at the cables. They should have some tension, not hang slack. Slack cables mean the springs aren’t doing their job and the cable is trying to pick up the weight.
- Drum condition. Look for cracks or chips in the drum casting or a drum that looks visibly loose on its shaft. Either of those is a stop-now signal.
What you should never do: never touch the cable, never try to hook a jumper back onto the drum, never reach for the cable when the door is open and the spring is under load. The cables are under enormous tension whenever the door is in motion, and a cable that lets go will whip through the air with enough force to cause serious injury. If a cable looks wrong, close the door, leave it closed, and call us. That’s the moment our garage door opener repair team can help, because a cable failure usually means the whole mechanism needs a proper assessment.
A cable that looks intact is still worth having professionally checked once a year. Cables fail internally before they fail visibly, and a trained eye can catch the wear pattern before it becomes a snapped cable.
Opener and Safety-Reverse Testing
The opener and its safety-reverse system need their own check, and it’s the one test most homeowners skip. The safety-reverse system is the feature that stops the door if it meets an obstruction, and it exists to protect anyone who walks under a closing door. Testing it is simple and takes a minute.
Here’s the sequence:
- Close the door fully using the wall button.
- Place a small object (a brick, a rolled-up towel, a piece of 2×4) flat on the floor in the middle of the door opening.
- Press the button to close the door. Watch what happens when the door meets the object – it should reverse direction and go back up. If it stops on the object or keeps pushing, the safety-reverse is failing.
- Then test the photo-eye sensors. With the door open, wave a hand in front of one of the two sensors (the small lens-mounted units at the bottom of each side of the door frame). The door should refuse to close or reverse if it’s already closing.
On modern openers from LiftMaster and Chamberlain, most of these tests can be done from the wall button or the manufacturer’s app, but the physical obstruction test is the one that tells you the door is actually set right. If the door fails either test, stop using the opener until it’s fixed. A door that’s ignoring its safety sensor is a door that might not stop for a person.
Also listen to the opener. A grind, a screech, or a clunk that wasn’t there before is usually a worn gear or a loose chain. If your opener is a Craftsman, Genie, or one of the smart-home brands, our team can diagnose it without swapping the whole unit if the repair is straightforward. We don’t replace a working opener just because it’s old.
While you’re testing the opener, check the battery in the wall button and the remote, and check that the emergency release cord is hanging clear of the door’s track. A release cord that’s tangled in the track is a release that won’t work when you need it.
The Seasonal Trigger System: October, March, and After Storms
Every garage door check belongs to a season. Running all of them at once sounds thorough, but it burns you out and you end up doing none of them well. This is the seasonal trigger system we recommend for Delaware doors, based on what actually stress-tests a door here.
October – the pre-winter pass:
- Run the balance test to gauge spring tension before the cold.
- Do the full lubrication pass on hinges, roller stems, bearing plates, torsion spring, and lock.
- Inspect weatherstripping and replace anything that’s cracked or flattened.
- Check the safety-reverse system before the season of short days and early darkness.
- Test the opener battery and the manual release.
March – the post-winter pass:
- Run the balance test again. This is the one that matters most, because winter is when a weakening spring shows itself.
- Re-lubricate everything you did in October. The cold dries out lubricant faster than summer heat does.
- Look at the bottom seal for compression failure after a season of ice and frost.
- Check the panels and hinges for any new loosening from the freeze-thaw cycle.
- Test the safety-reverse and remote battery again.
After any major storm:
- Visually inspect the whole door for panel or track damage.
- Check the cables and drums for visible damage (look, don’t touch).
- Run the balance test to confirm the springs are still doing their job.
- Check the opener’s safety sensors, which can shift in a hard wind.
Delaware weather is hard on garage doors in a way that doesn’t get talked about much. The seasonal swing alone is enough to loosen hinges and dry out lubricant, and a summer storm followed by a cold snap can put more stress on a door in one week than a mild month would. The trigger system is how you stay ahead of it.
When to Schedule Professional Service in Delaware
Some checks on this list are homeowner work. Others are professional territory, and knowing which is which is the whole point of the checklist. If the balance test says the door is heavy, if a spring looks wrong, if a cable is frayed, if the drum is cracked, or if the door has come off the track, that’s a call, not a DIY project. Springs and cables carry stored energy that can cause serious injury, and a door that’s out of balance is a door that’s one cycle away from a failure.
The other category is the scheduled professional check – once a year, a trained technician can do what you can’t safely do: inspect the spring coils for fatigue, check the cable seating on the drums, verify the torsion shaft, and test the entire opener system. That annual visit catches the wear before it becomes a failure, and it’s cheaper than the emergency repair. Our team in Delaware offers free estimates for any repair or installation work, and our technicians have up to 11 years of experience across every major brand on the market. Call (833) 509-5064. We answer 24/7. Fast dispatch from 7am to 7pm, Sunday through Friday.
See the difference
 Before
 After
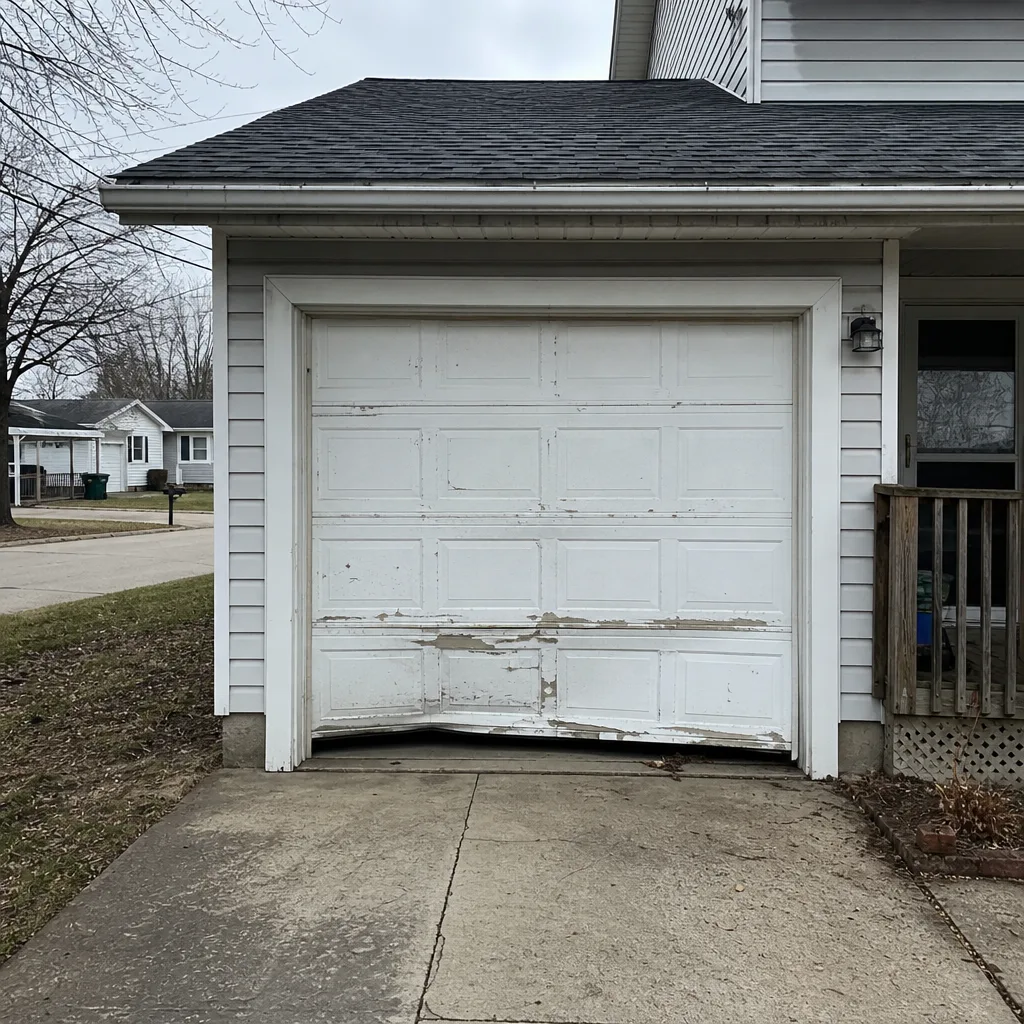 Before
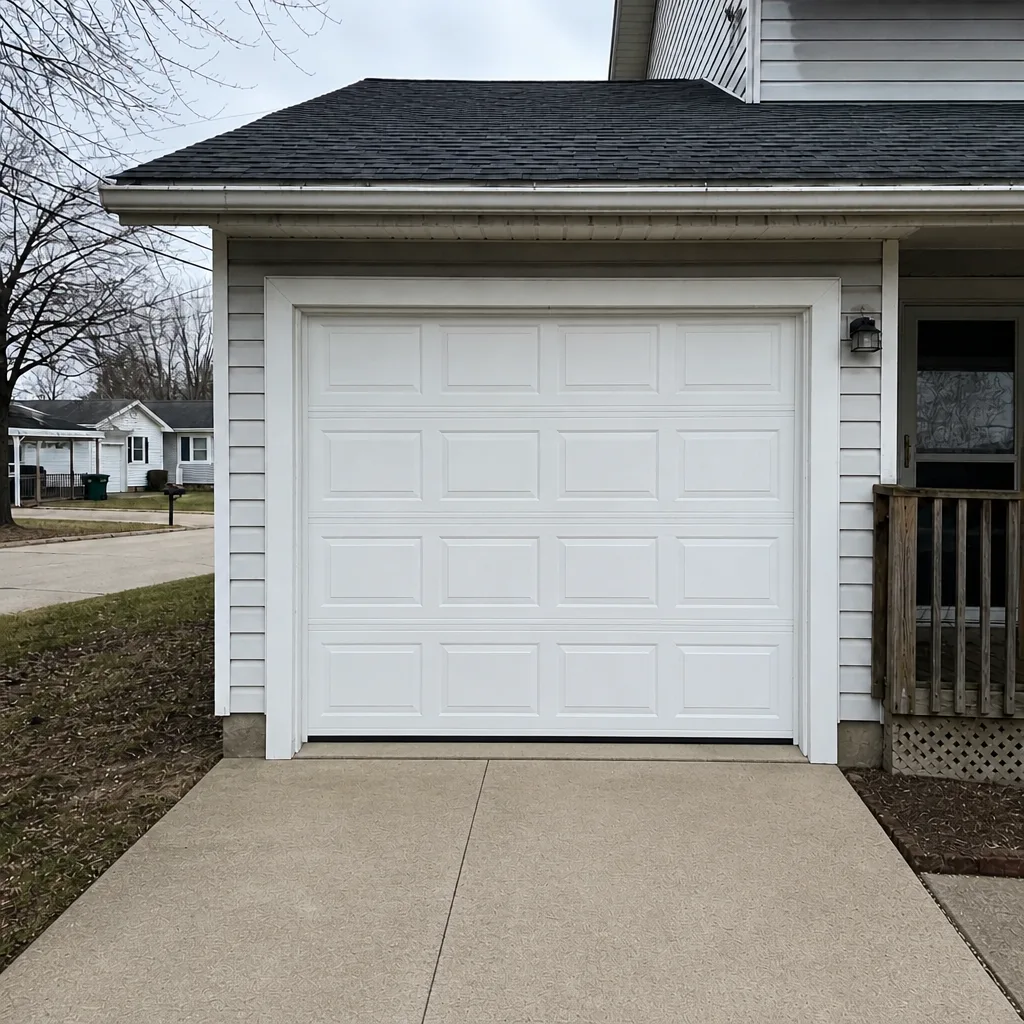 After
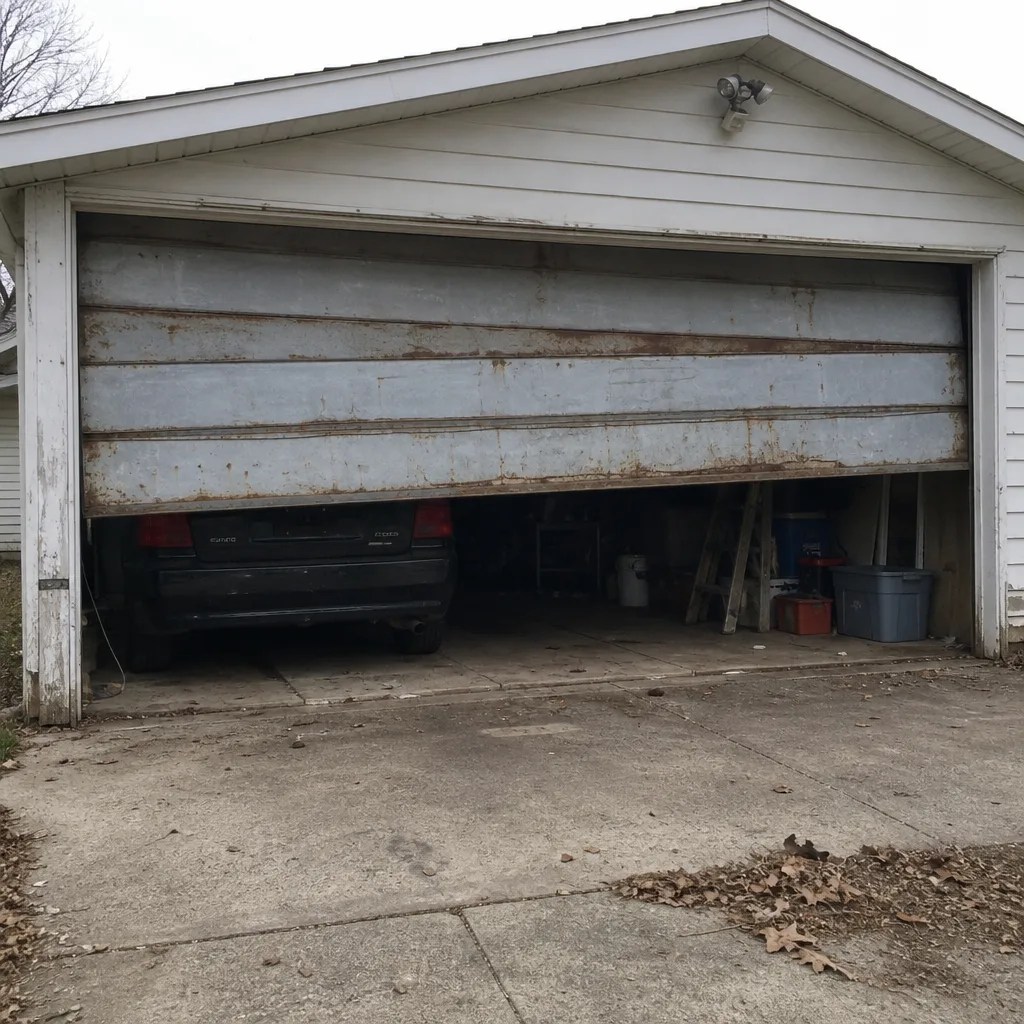 Before
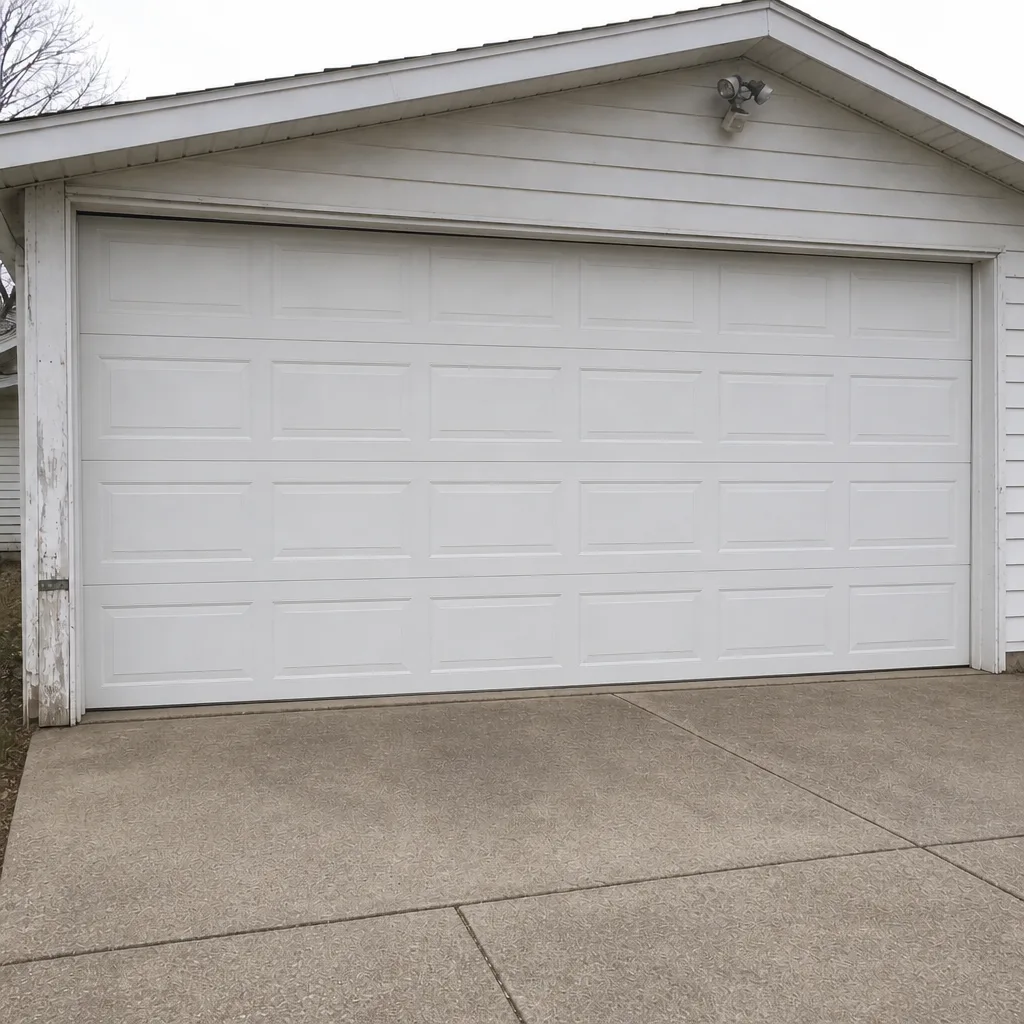 After
Common Mistakes to Avoid
- Greasing nylon rollers and tracks. We see this constantly in Delaware. Nylon is designed to run dry, and grease on it just attracts grit that binds the roller. Leave it alone.
- Skipping the balance test. It takes 30 seconds and it’s the single best tell on spring health. Skipping it leaves you with no warning when a spring lets go. Two winters of skipped lubrication is enough to cause that failure.
- Using WD-40 as a lubricant. WD-40 is a solvent and water displacer, not a long-term lubricant. It dries and leaves the hinge points worse than they were. Use a dedicated garage door lubricant.
- Adjusting springs yourself. This is the mistake we worry about most. Springs are under enough tension to cause serious injury, and the winding procedure requires proper bars and the right technique. Never attempt it.
- Touching cables under tension. A cable that’s under load will whip when it lets go. Inspect with your eyes only.
- Ignoring a flattened seal. A compressed bottom seal in Delaware is a drafty door in winter and a wet door in spring. Replace it when you spot it.
- Running an all-at-once checklist. The seasonal trigger system exists because doing everything once a year is worse than doing the right check at the right time. October, March, and after storms.
If you’re not confident about any of these checks, the wrong move is guessing. A quick call and a free estimate from a professional is cheaper than a repair caused by a well-intentioned mistake. We’d rather tell you your door is fine than sell you a repair you don’t need, and that’s true whether your door is a LiftMaster, a Clopay, or an older Genie unit.
Frequently Asked Questions
Twice a year, in October and again in March, is the right cadence for Delaware’s climate. The temperature swings here dry out lubricant faster than a mild climate does, and skipping two winter cycles is enough to let hinges seize and springs start grinding. A full pass on hinges, roller stems, bearing plates, torsion spring, and lock takes about 15 minutes. If the hinges feel stiff or dry between passes, add one after a storm.
No. Garage door springs are under enough tension to cause serious injury if they release, and the winding procedure requires specialized bars and precise technique. A torsion spring failure can happen suddenly and without warning. This is the one item on the entire checklist that should always be a professional call, and we’d rather you call us than take the risk. Call (833) 509-5064 for an estimate.
Run the balance test before you do anything else. Pull the release cord, lift the door to waist height, and let go. If it drops quickly, the springs have lost tension. If it feels difficult to lift at all, that’s the same answer. A heavy door is a spring problem, not an opener problem, and a technician needs to see it. Close the door and call for an estimate.
Look for two things: visible cracks along the rubber or vinyl, or a seal that looks intact but has flattened out so it no longer closes the gap at the bottom. The flattened type is the harder one to spot, so check by closing the door and looking for daylight at the bottom. In Delaware, the seal takes a beating from both summer heat and winter cold, so check it in October and again in March.
Close the door, leave it closed, and call a technician. Do not touch the cable, do not try to hook it back onto the drum, and do not operate the door. A frayed cable is a cable that’s about to fail, and when it does it will whip with enough force to cause serious injury. Our emergency service is set up for exactly this scenario.
We work on LiftMaster, Chamberlain, Genie, Craftsman, and most other major brands, and we repair rather than replace when the repair makes sense. A worn gear or a loose chain is fixable. If the unit itself has failed and you’d rather upgrade, we handle garage door installation as well, so you don’t need a second company. Call (833) 509-5064 for a free estimate.
The Bottom Line
A maintenance checklist is really a list of early warnings. The balance test catches lost spring tension, the lubrication pass prevents the wear that breaks springs, and the seal and cable checks catch the failures that come from Delaware’s temperature swings before they become an emergency. Run the right checks at the right time – October, March, and after any major storm – and you’ll get years more out of your door and opener. And when something on the list points to a spring, a cable, or the torsion shaft, leave the repair to a professional. The risk isn’t worth it, and the fix is faster than the worry.
If you’re in Delaware and want a trained eye on the door, we’re here. Garage Door Repair Delaware handles repair, spring repair, opener repair, and installation, and every estimate is free. Call (833) 509-5064. We answer 24/7. Fast dispatch from 7am to 7pm, Sunday through Friday.
One more thing worth knowing: the same checklist applies whether your door is a Clopay, an Amarr, a Wayne Dalton, or a Craftsman. The parts are similar, the stress points are similar, and the inspection sequence is the same. Our technicians have up to 11 years of experience across every major brand, so no matter what’s in your garage, we’ve seen it before.
Written by the team at Garage Door Repair Delaware.